
4-1. Account-Project
4-1. Account and Project
From sign-up to project creation. This is a one-time setup.
What you end up with
- A ONE RAMP account (Google login + 2FA)
- A Studio — the workspace for your organization
- A Project and its Project ID — later used as
intent.project_idin theinitializerequest
4-1.1 Access and Login
- Go to https://cross-ramp-console.crosstoken.io → the login screen appears
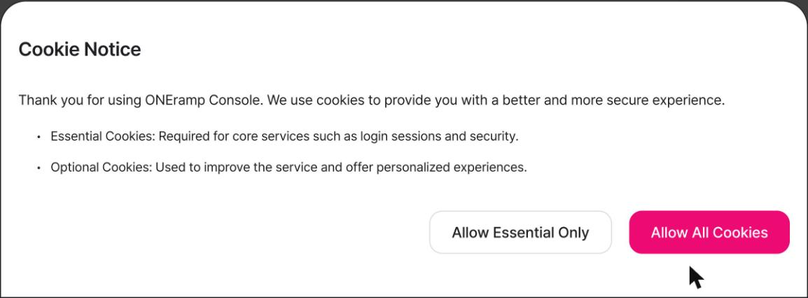
- On your first visit, a Cookie Notice appears at the bottom
Allow Essential Only— only cookies required for login and securityAllow All Cookies— also allows optional cookies- Either choice works; there is no functional restriction
- Click
Sign in with Google→ select an account → authenticate - There is no ID/password field and no separate sign-up link — your first login is the sign-up
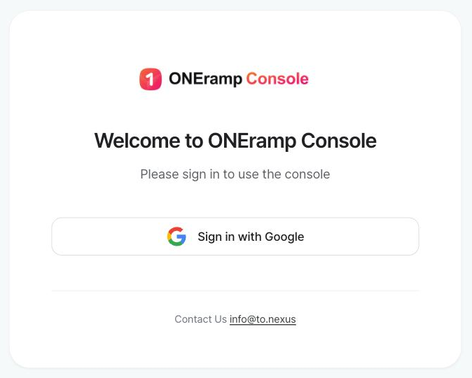
This account becomes the Studio Owner. Make sure it is a work account, not a personal one.
4-1.2 Sign-up Steps
① Start sign-up
- A Sign Up modal appears → click
Get Started Cancel— returns to the login screen
② Accept the terms
- Review the terms, check the agreement items, then continue
- Applicable terms → 1.5
③ Two-factor authentication (2FA) — required
- Install an authenticator app — Google Authenticator, Authy, etc.
- Scan the QR code, or use
Copyto copy the secret key and register it manually in the app - Click
Enter Authentication Code
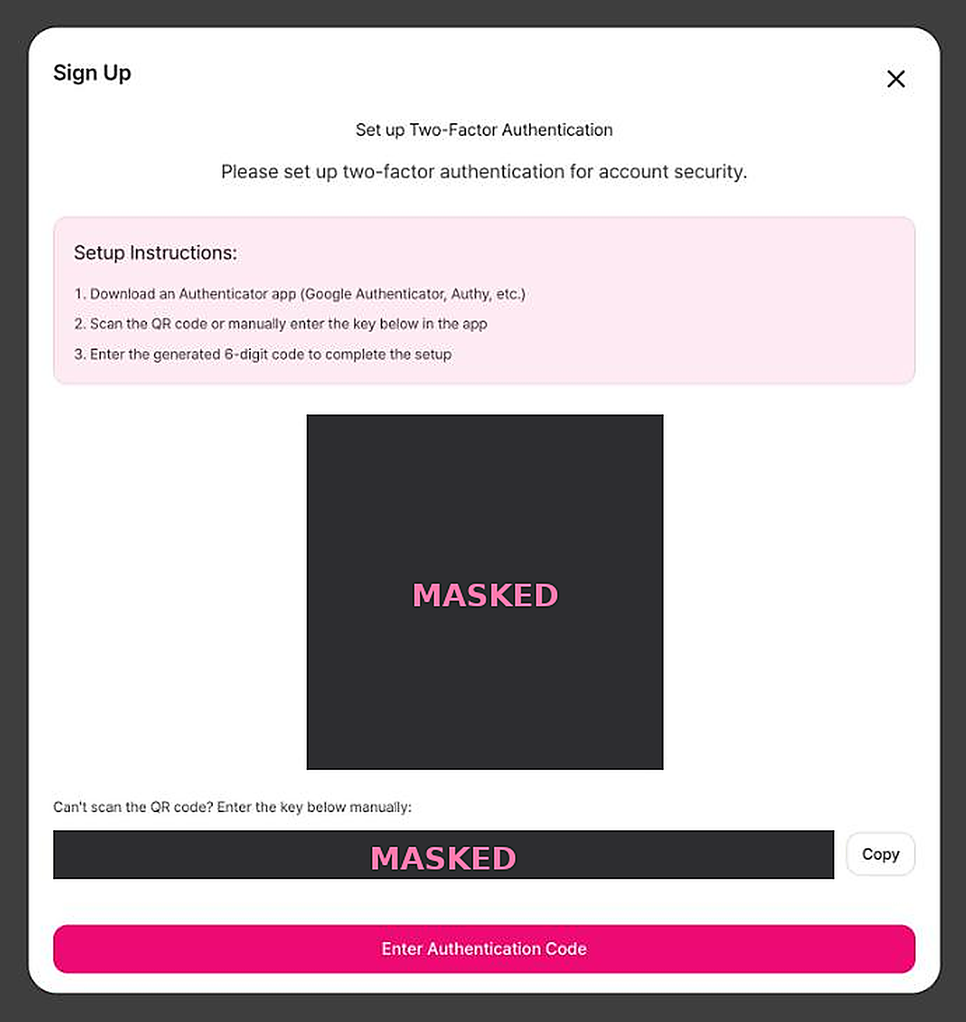
You cannot complete sign-up without an authenticator app. The secret key and QR code grant direct account access — never share them over messengers or email, and store them only in your company password manager.
④ Enter the code → sign-up complete
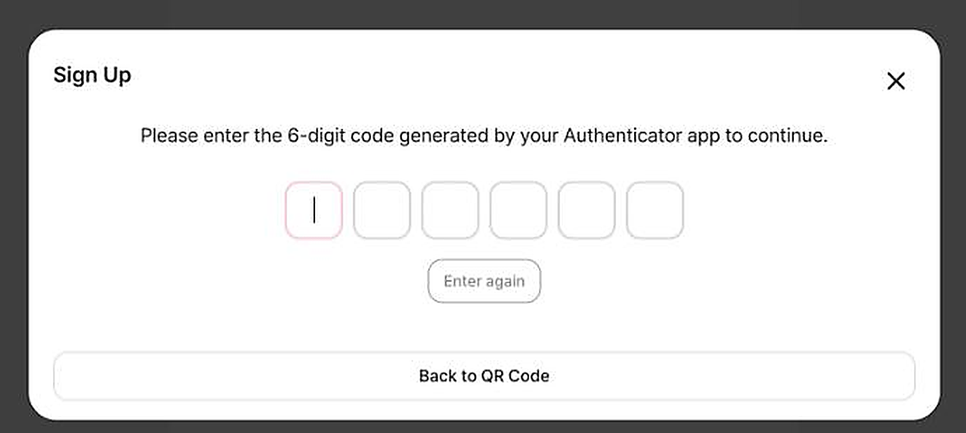
- Enter the 6-digit code from the authenticator app → it is verified automatically
- The code rotates every 30 seconds → enter a freshly generated code
Enter again— re-enter /Back to QR Code— return to the QR step
4-1.3 Creating a Studio
Right after sign-up you do not belong to any Studio.
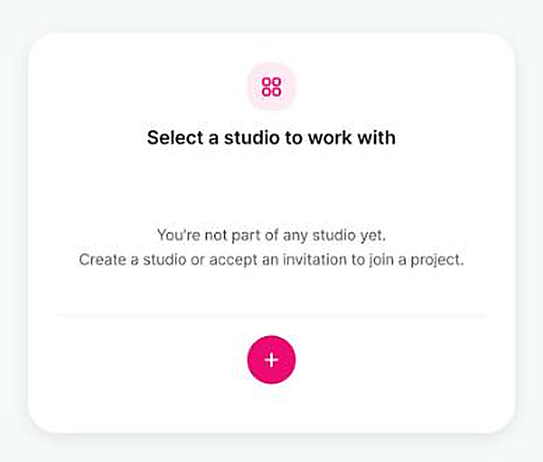
- The pink
+— create one yourself - If your team already runs a Studio, ask an administrator to invite you
Recommended: one Studio per team. A Studio is an organization-level workspace. If several people each create their own, projects and API Keys end up scattered. Have one representative create it and invite the rest.
Fields
| Field | Required | Description |
|---|---|---|
| Studio Name | Required | Your organization or team name is recommended |
| Studio Logo | Optional | PNG · JPG · JPEG, about 3 MB or less |
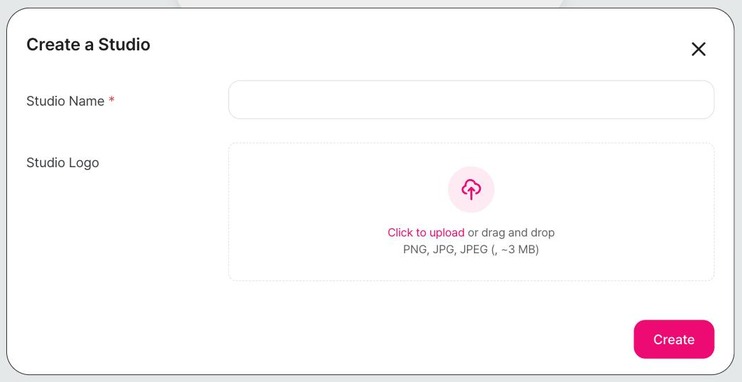
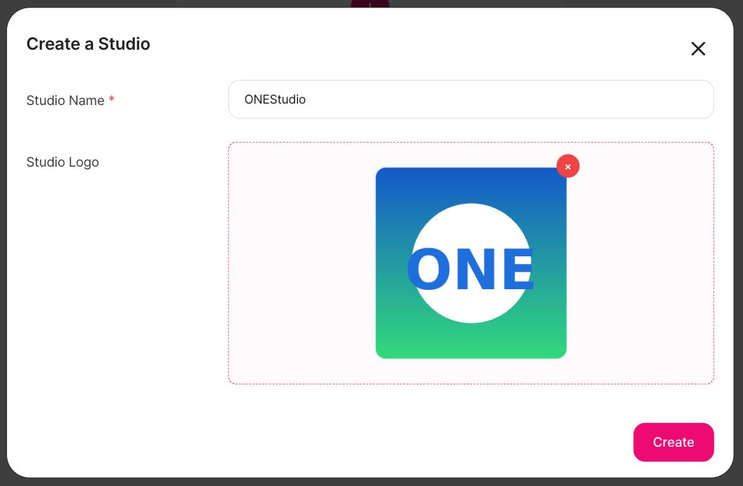
- The
×at the top right of the logo preview — cancels the upload - Click
Create
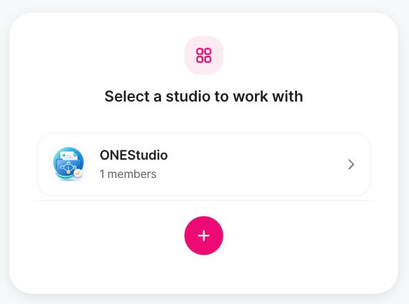
Entering the Studio
- Click the Studio in the list to enter the workspace (the member count is shown under the name)
+— create another Studio
4-1.4 Creating a Project
Projects is the default screen when you enter a Studio. Click New Project at the top right.
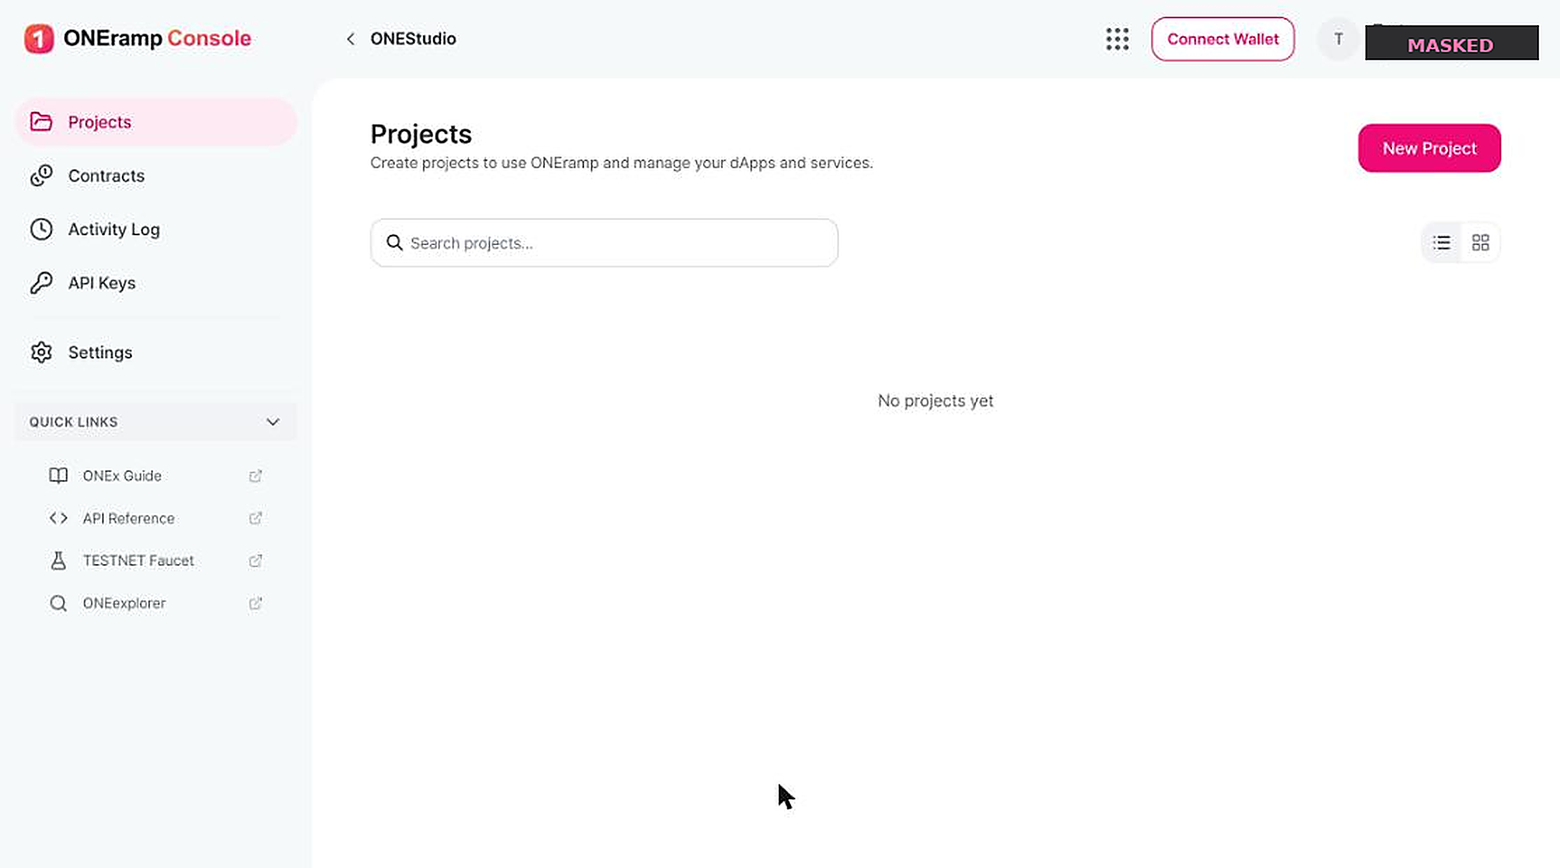
Studio left menu
- Projects — the project list
- Contracts — contract deployment and management → 4-2. Contracts
- Activity Log — Studio activity history
- API Keys — issue and manage MCP API Keys. This is a beta feature.
- It lets AI agents access the Studio with predefined permissions and is unrelated to RAMP integration.
- As a beta feature, its behavior and screens may change without notice.
- Settings — Studio information and member management
- Quick Links — ONEx Guide · API Reference · TESTNET Faucet · ONEexplorer
Fields
| Field | Required | Description |
|---|---|---|
| Project Name | Required | Enter in English |
| Project Icon | Optional | PNG · JPG · JPEG, about 3 MB or less |
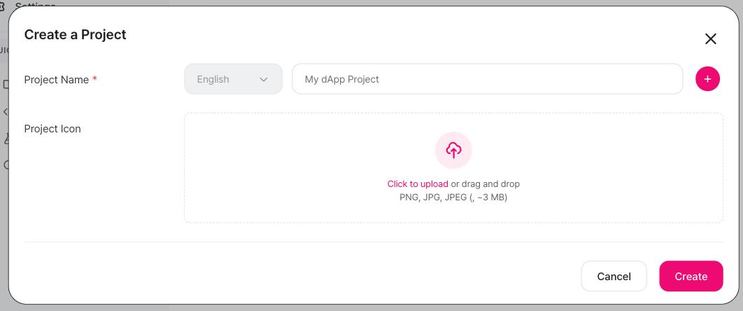
Caution Pressing
Esccloses the modal without saving and clears your input. When closing a dropdown, click outside it instead of pressingEsc. To cancel, useCancelor×.
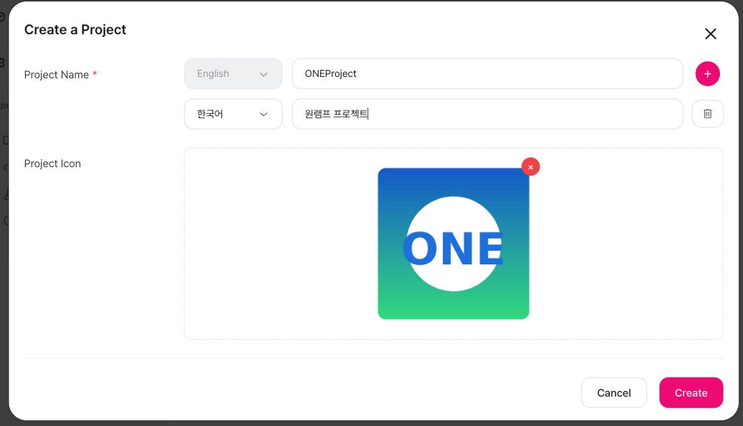
4-1.5 Confirming Creation and the Project ID
The list shows the icon, name, Project ID, and creation date.
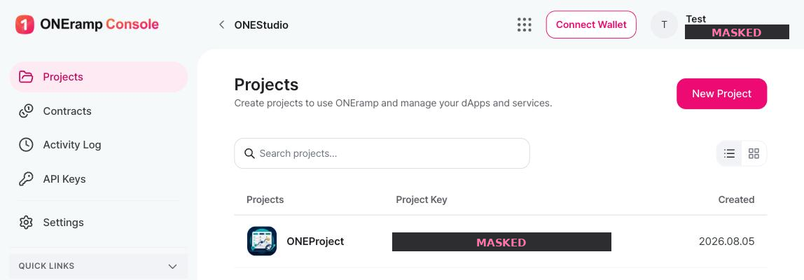
- The icon at the top right toggles list/card view; the search box at the top searches by name
Project ID
- A 32-character hexadecimal value (for example
c1274a…30b3). - It is issued automatically when the project is created and cannot be changed.
- Where to find it — the
Projectslist, and projectSettings→General - This is the value you put in
intent.project_idin theinitializerequest. → 5.3
Editing the name and icon
- Change them in project
Settings→General(Basic Information). - Changes are saved only after you click
Update Project.
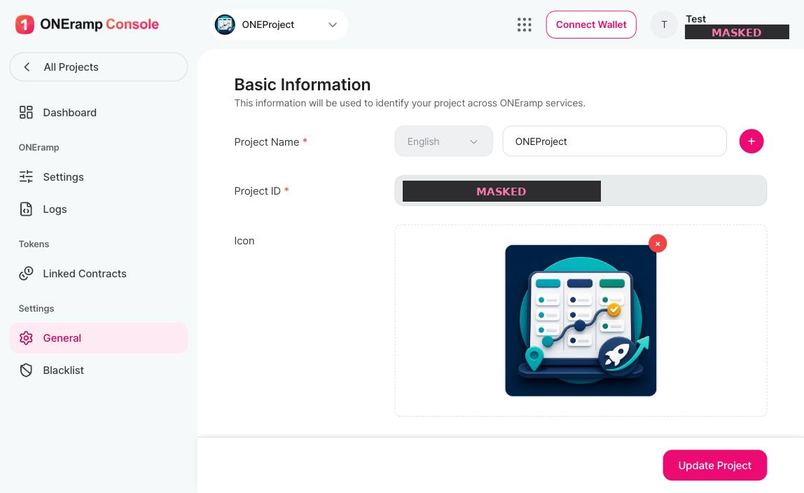
Do not expose the Project ID in public repositories or front-end code.
4-1.6 Dashboard (Operations View)
Clicking a project opens the dashboard. This is the screen for operational metrics after launch.
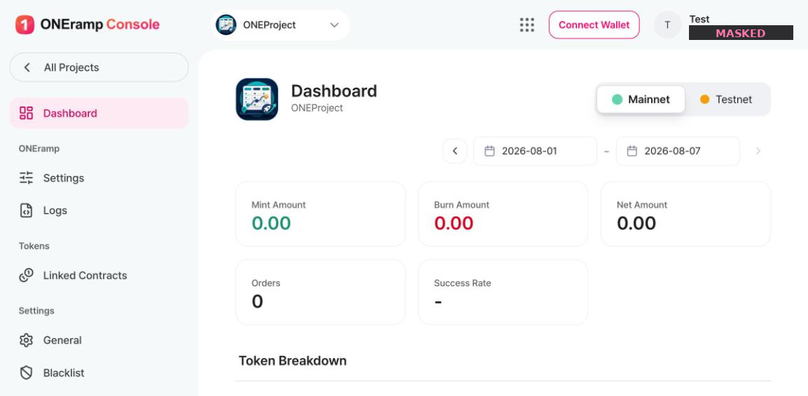
- Mainnet / Testnet switch and date range selection
- Metrics — Mint Amount · Burn Amount · Net Amount · Orders · Success Rate
- Token Breakdown at the bottom — per-token activity for the period
Project left menu
- ONEramp — Settings (Ramp settings) → 4-3 · Logs (processing logs)
- Tokens — Linked Contracts (linked token contracts)
- Settings — General (basic information) → 4-1.5 · Blacklist (blocked addresses) → 4-1.7
- All Projects — return to the project list
Post-launch operational checks
Screens to monitor while running in production.
| Location | Screen | Purpose |
|---|---|---|
| Project | Dashboard | Mint Amount · Burn Amount · Net Amount · Orders · Success Rate · Token Breakdown |
| Project | ONEramp → Logs | On/off-ramp processing logs |
| Project | Tokens → Linked Contracts | Status of linked token contracts |
| Project | Settings → Blacklist | Managing blocked addresses → 4-1.7 |
| Studio | Activity Log | Studio activity history (tracks configuration changes) |
Regular checks
- Success Rate dropping — a sign of increasing failed transactions. Check
Logsfor the cause. - Asset restoration logs — a rising count means transaction failures or a flaw in your validation logic
- Issuance limit consumption — remaining headroom against
Max Supplyand the per-period limit - Retain audit logs on your server (
uuid,tx_hash,receipt.status) → 5.6 - Assign an owner and a review cadence for operational monitoring.
4-1.7 Blacklist — Managing Blocked Addresses
Register abusive wallet addresses to block all RAMP token-related actions for them.
(Blocking a wallet across other NEXUS services on the ONE Chain network requires a separate request.)
Path — Project Settings → Blacklist
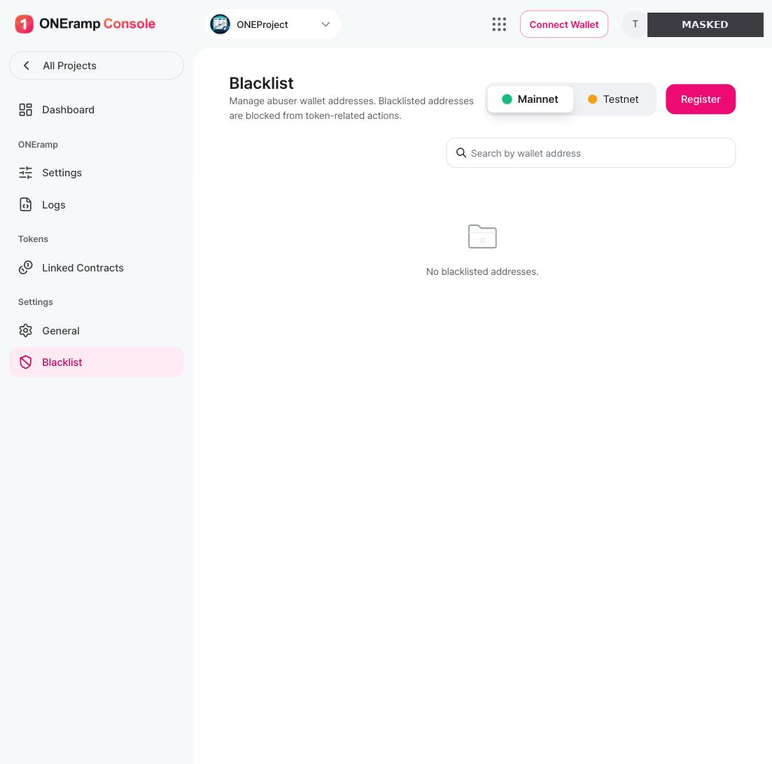
- Use the Mainnet / Testnet switch at the top right to manage the block list per network.
- If no addresses are registered, the list appears empty.
- Search — look up by wallet address.
Registering an address
Click Register to open the registration modal.
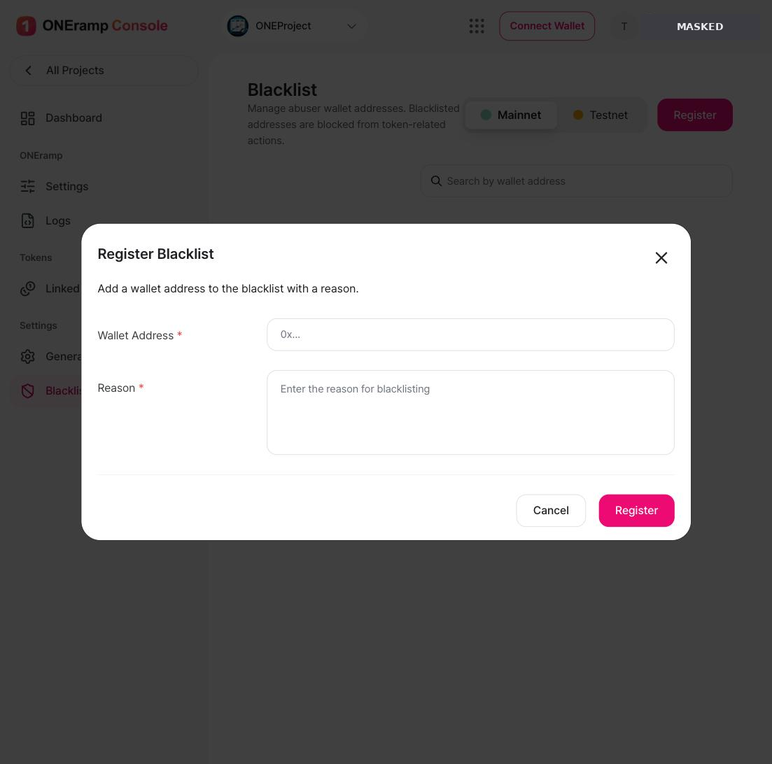
| Field | Required | Description |
|---|---|---|
| Wallet Address | Required | The wallet address to block (0x…) |
| Reason | Required | Why it is blocked. Multi-line input is allowed |
- Fill in both fields, then click
Register. - The reason is required. Write something specific so the rationale survives a change of staff (for example: asset duplication attempt, or the timestamps and counts of abnormal repeated requests).
The lists are separate per network. An address blocked on Testnet is not blocked on Mainnet. For a production response, always confirm that you registered it on the Mainnet tab.
4-1.8 Inviting Members
Studio Settings → Members tab
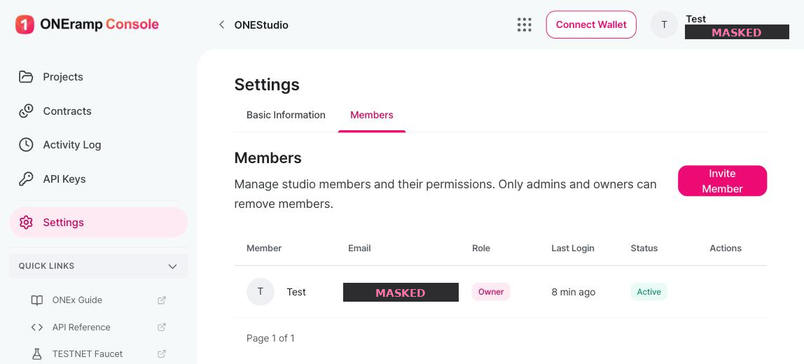
Invite Member— invite a member- Columns — name · email · Role · Last Login · Status
- The Studio creator has the Owner role
- Only admin and owner can remove members
In the screenshots, the 2FA secret key, Project ID, and account email are masked for security.
4-1.9 FAQ
There is no sign-up link in the console.
That is expected. Only Google login is supported, and your first login is the sign-up.
My 2FA code keeps being rejected.
Set your phone's clock to automatic (network time), and enter a code right after it is generated.
I lost the device with my authenticator app.
Contact [email protected] to request a 2FA reset.
My input in the Create Project modal disappeared.
Pressing Esc closes the modal without saving and clears it. Reopen it and enter the values again.
Updated about 2 months ago